How to Become a Shopify App Developer in 2026
In part 1 we mapped out how a modern Shopify app fits together. Before any code, you need three things: a Shopify Partner account, somewhere to manage apps (the Dev Dashboard), and a development store to test on.
Also Read: The Impact of Shopify in E-Commerce Industry
This post covers all three. It also covers the money side: the $19 registration fee, the revenue share, and how payouts reach your bank account.
Series: Shopify App Development 2026, part 2 of 8
Step 1: Create a free Shopify Partner account
Everyone who builds for Shopify, whether apps, themes or client stores, is a Shopify Partner. Joining is free.
- Go to the Shopify Partners page and click Join now (or go directly to partners.shopify.com/signup).
- Sign in with a Shopify account or create one.
- Fill in your business details. Solo developers can use their own name.
- Accept the Partner Program Agreement.
- Set up two-step authentication. It's mandatory for all Partners.
You start at the Registered tier. Shopify also has Select, Plus, Premier and Platinum tiers, which unlock extra support and marketing benefits as your business grows (Partner Program overview). You don't need to think about tiers yet.
Heads up: Partner accounts with no activity for 2 years become inactive. Shopify gives 60 days' notice before closing one.
Step 2: Understand the two dashboards
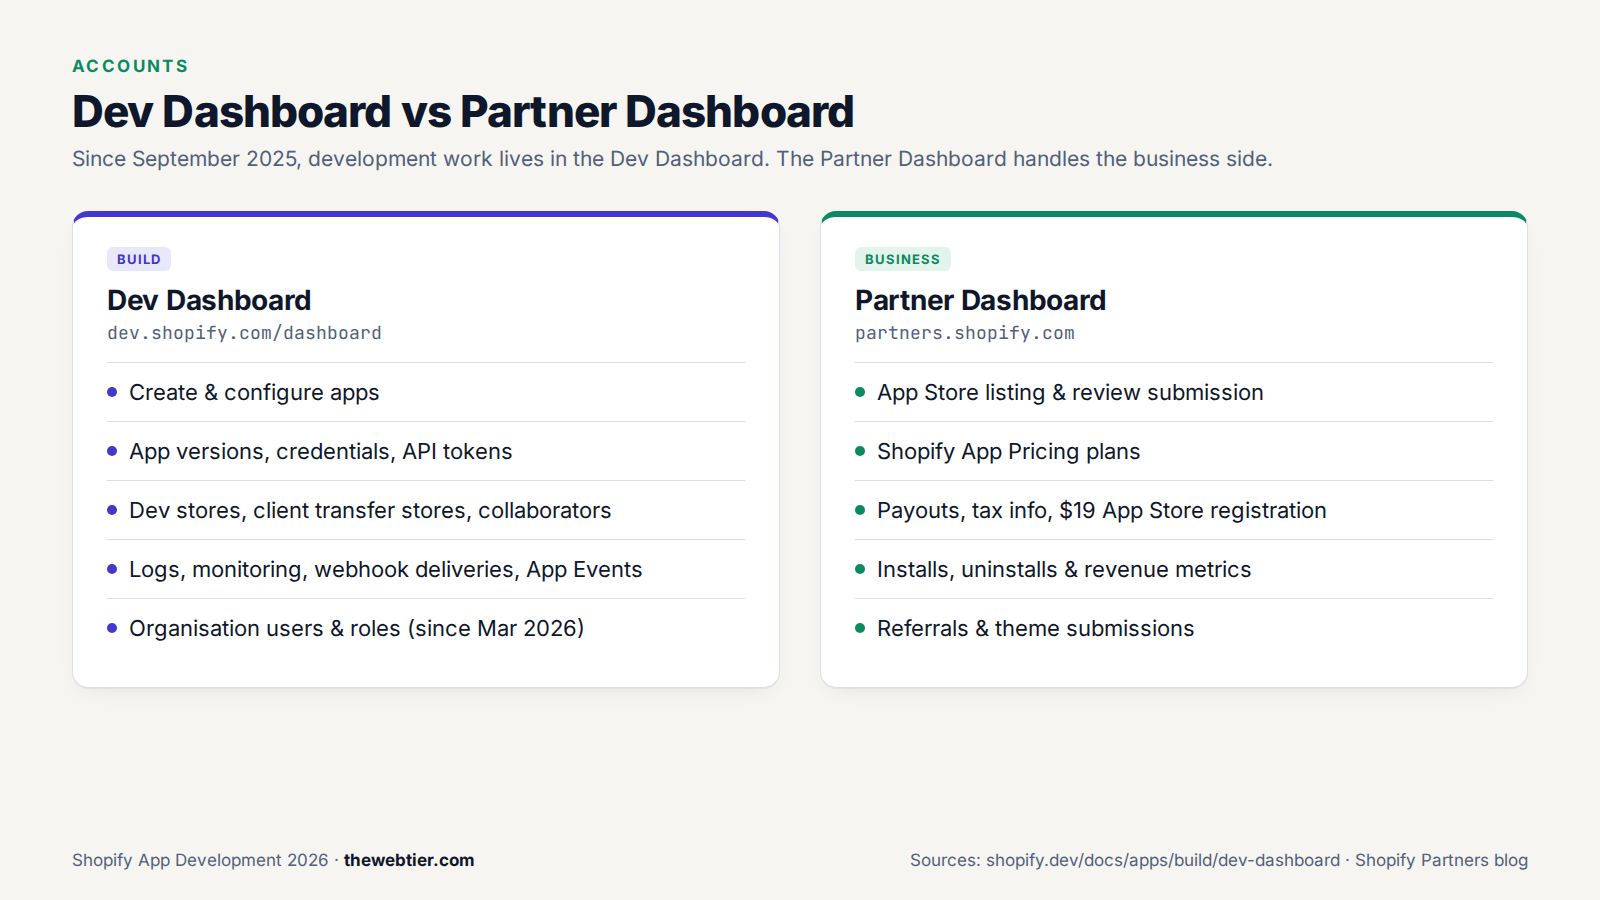
Old tutorials do everything in the Partner Dashboard. Since September 2025, work is split across two places:
Also Read: Programming Guide
| Dev Dashboard (dev.shopify.com) | Partner Dashboard (partners.shopify.com) |
|---|---|
| Create and configure apps | App Store listings and submitting for review |
| App versions, credentials, API tokens | Shopify App Pricing plans |
| Dev stores, client transfer stores, collaborator access | Payouts, tax info, App Store registration |
| Logs, monitoring, webhook deliveries, App Events | Revenue, installs and uninstalls metrics |
| Organisation settings: users and roles | Referrals and theme submissions |
Shopify's own docs say the Dev Dashboard "replaces the Partner Dashboard for all development workflows". The Partner Dashboard is now the business side: getting listed and getting paid.
Two ways to create an app
- With Shopify CLI (recommended, and required for App Store apps).
shopify app initcreates the app in the Dev Dashboard and links it to your local code. We'll do this in part 3. - "Start from Dev Dashboard". For API-only integrations and automations with no UI. These use the client credentials grant, and their tokens expire after 24 hours (docs).
Step 3: Set up your organisation and team
Since March 30, 2026, Partner accounts are organisations with role-based access control. Each organisation has one Owner and can have any number of Admins. There are seven built-in roles, and you can create custom ones:
| Role | What it's for |
|---|---|
| Organization owner | Full control, and the only role that can transfer ownership |
| Organization administrator | Everything except transferring ownership |
| Organization user administrator | Managing team members |
| Store administrator | Full build access to stores |
| Store user administrator | Managing store users |
| App developer | Building apps and creating dev stores |
| Collaborator access | Whatever the merchant grants |
If you're hiring a freelancer to help, give them App developer, not an administrator role. You'll find these under Organization Settings in the Dev Dashboard (user permissions docs).
Identity verification: since July 2026, Partners must verify their identity (a government photo ID plus a selfie check) before sending new collaborator requests to merchant stores. You can build apps without it, but agencies should do it early (changelog).
Also Read: Web Development: How to Publish
Step 4: Create a development store
A dev store is a free Shopify store for building and testing. It can't take real payments, but it has the full admin, and you can pick any plan, including Shopify Plus. That's useful because some features, like checkout UI extensions on the information, shipping and payment steps, need Plus.
Option A: from the Dev Dashboard
Go to Stores → Create store → Dev store, then choose a name and a plan. You can also turn on a feature preview to test upcoming features (dev store docs).
Option B: from the terminal (new in CLI 4.8)
Since Shopify CLI 4.8 (September 2026), you can create dev stores without opening a browser:
shopify store create dev \
  --name "TWT Badges Dev" \
  --plan basic \
  --demo-data \
  --country GB
Plans are basic, grow, advanced or plus. --demo-data fills the store with sample products, which saves you making test products by hand. Related commands: shopify store list, shopify store info, shopify store open and shopify store delete.
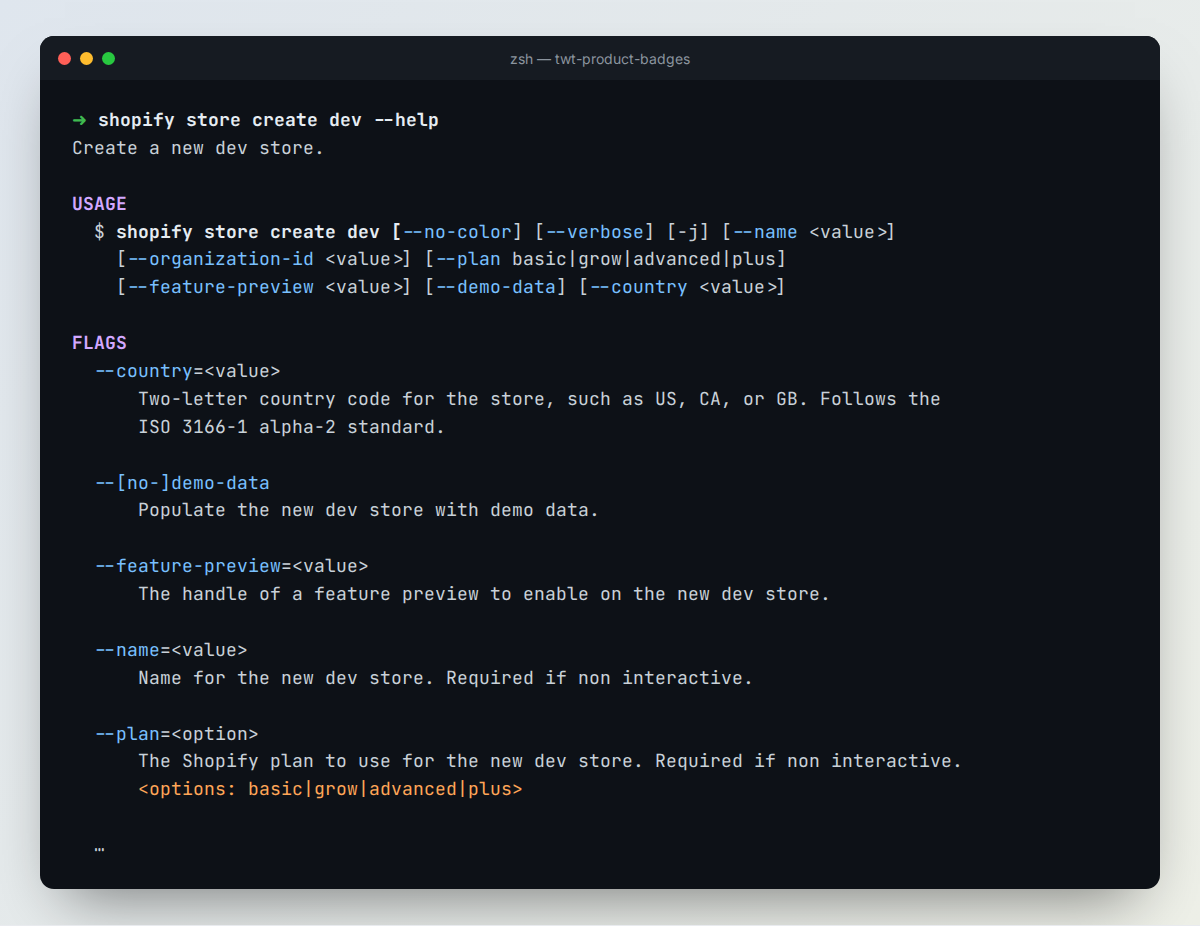 The real
 --help output from Shopify CLI 4.8.2.
Also Read: Web Development: How to Deploy
Dev store rules to know
- Limit: 250 dev stores per organisation. Client transfer stores and collaborator stores don't count toward it (changelog).
- No real transactions. Use the Bogus Gateway or a payment provider's test mode.
- The password page stays on. You can't remove it.
- You can't hand a dev store to a client. If you're building a store for a merchant, create a client transfer store instead. The client has 7 days to accept the transfer, and you keep collaborator access afterwards (client transfer store docs).
Step 5: Register for the App Store (when you're ready)
You can build and test a public app without paying anything. To list it on the Shopify App Store, you pay a one-time $19 USD registration fee per Partner account:
Partner Dashboard → Settings → App Store registration → Register now
You'll confirm who owns the account and link any Associated Developer Accounts. Shopify adds up revenue across linked accounts for the revenue share calculation.
How you get paid: revenue share, fees and payouts
Revenue share
As of 2026 (source):
- 0% on your first $1,000,000 USD of lifetime gross app revenue, counting only revenue earned from January 1, 2025
- 15% on revenue above that
- A 2.9% processing fee on all app billing, plus applicable taxes
- Large developers, meaning those who made $20M+ in app revenue the previous year or whose company has $100M+ in gross revenue, pay 15% on everything
Watch out for outdated info: until June 16, 2025 the $1M exemption reset every year. It's now a lifetime allowance (changelog). Some Help Center pages still say "annual".
Payouts
- Paid twice a month through Hyperwallet, with a $25 minimum
- Set it up under Partner Dashboard → Settings → Payouts → Manage payout method
- Paid in USD. Converting to your local currency (GBP, EUR, PKR and so on) costs a 0.50% conversion fee
- Methods include PayPal, bank transfer or wire, depending on your country (getting paid)
Enter your tax details under Partner Dashboard Settings. Tax rules depend on where you live, so check with an accountant before your first payout.
Also Read: Shopify App Extensions: Theme, Tooling Checkout UI & Functions
Other ways to earn as a Shopify Partner
Apps aren't the only income stream. As a Partner you can also:
- Refer merchants: 20% of the merchant's monthly subscription plus 0.1% of eligible sales for 4 years, and a one-time $2,500 for Shopify Plus referrals (how Partners earn)
- Build themes for the Shopify Theme Store
- Build stores for clients using client transfer stores
- Build custom apps for Plus merchants (no review, no revenue share)
Many successful app developers started as agencies and turned a feature that clients kept asking for into a public app.
Learning resources worth bookmarking
- shopify.dev: the official docs. Check the version selector on API pages.
- Shopify Developer Community forums: Shopify staff answer here, and there's a monthly "What's new on the Shopify Dev Platform" thread.
- Shopify Academy: Developing Apps for Shopify: a free learning path.
- Shopify AI Toolkit / Dev MCP: gives your AI assistant current Shopify docs and schema validation. In Claude Code:
claude plugin install shopify-ai-toolkit@claude-plugins-official
# or just the MCP server
claude mcp add --transport stdio shopify-dev-mcp -- npx -y @shopify/dev-mcp@latest
Your setup checklist
- Partner account created, with two-step authentication on
- Dev Dashboard opened, and team members added with the right roles
- At least one dev store created (with
--demo-data) - Shopify Academy path and forums bookmarked
- (Later) $19 App Store registration and a Hyperwallet payout method
FAQ
Is the Shopify Partner Program free?
Yes. Joining, building apps and creating dev stores are all free. You only pay the one-time $19 fee when you want to list a public app on the App Store.
Do I need a paid Shopify store to build apps?
No. Dev stores are free and can run on any plan, including Plus, for testing.
Can I turn my dev store into a real store later?
No. Dev stores can't be converted to live stores or transferred. Use a client transfer store if the store is meant for a merchant.
Also Read: Shopify GraphQL Admin API, Metafields & Webhooks (2026)
Do I need a company to become a Shopify Partner?
No. Individuals can join. You'll need valid payout and tax details before you receive money.
Where did "Managed Pricing" go?
It was renamed Shopify App Pricing in May 2026 and is now the default billing method for new apps. Part 6 covers it.
Next up
Your account and dev store are ready. In Part 3: Build Your First Shopify App with Shopify CLI we'll install CLI 4, scaffold the React Router template, and go through every file it creates.
← Part 1: Shopify App Development in 2026: The Complete Roadmap